Enjoying Some Time in the Glade

It’s been a while, so I thought I’d give you an update on what’s happening in my studio.
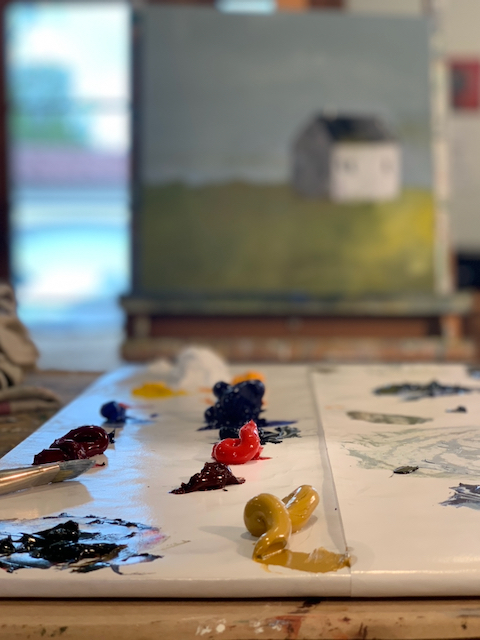

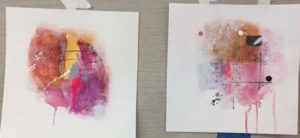
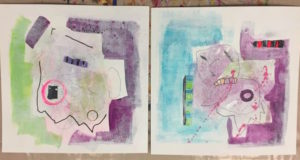
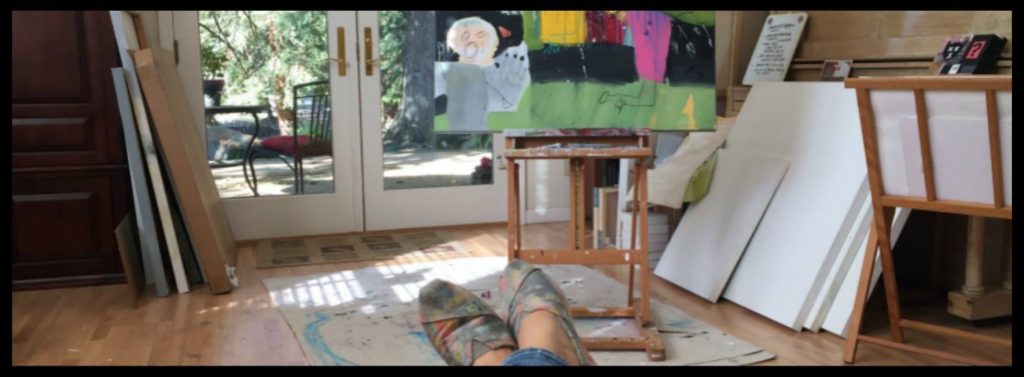
You probably know we’re amidst construction. It’s been going on for some time, now. But,  during a little break I got some great studio time and have been catching up on my Glade Collection. I was quite excited to be working on these paintings!     
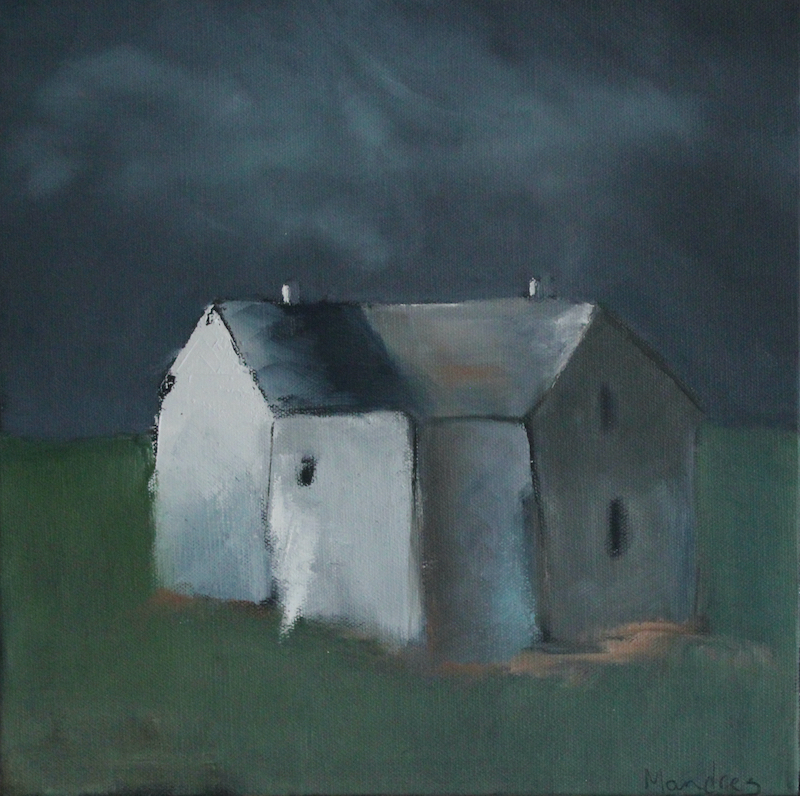
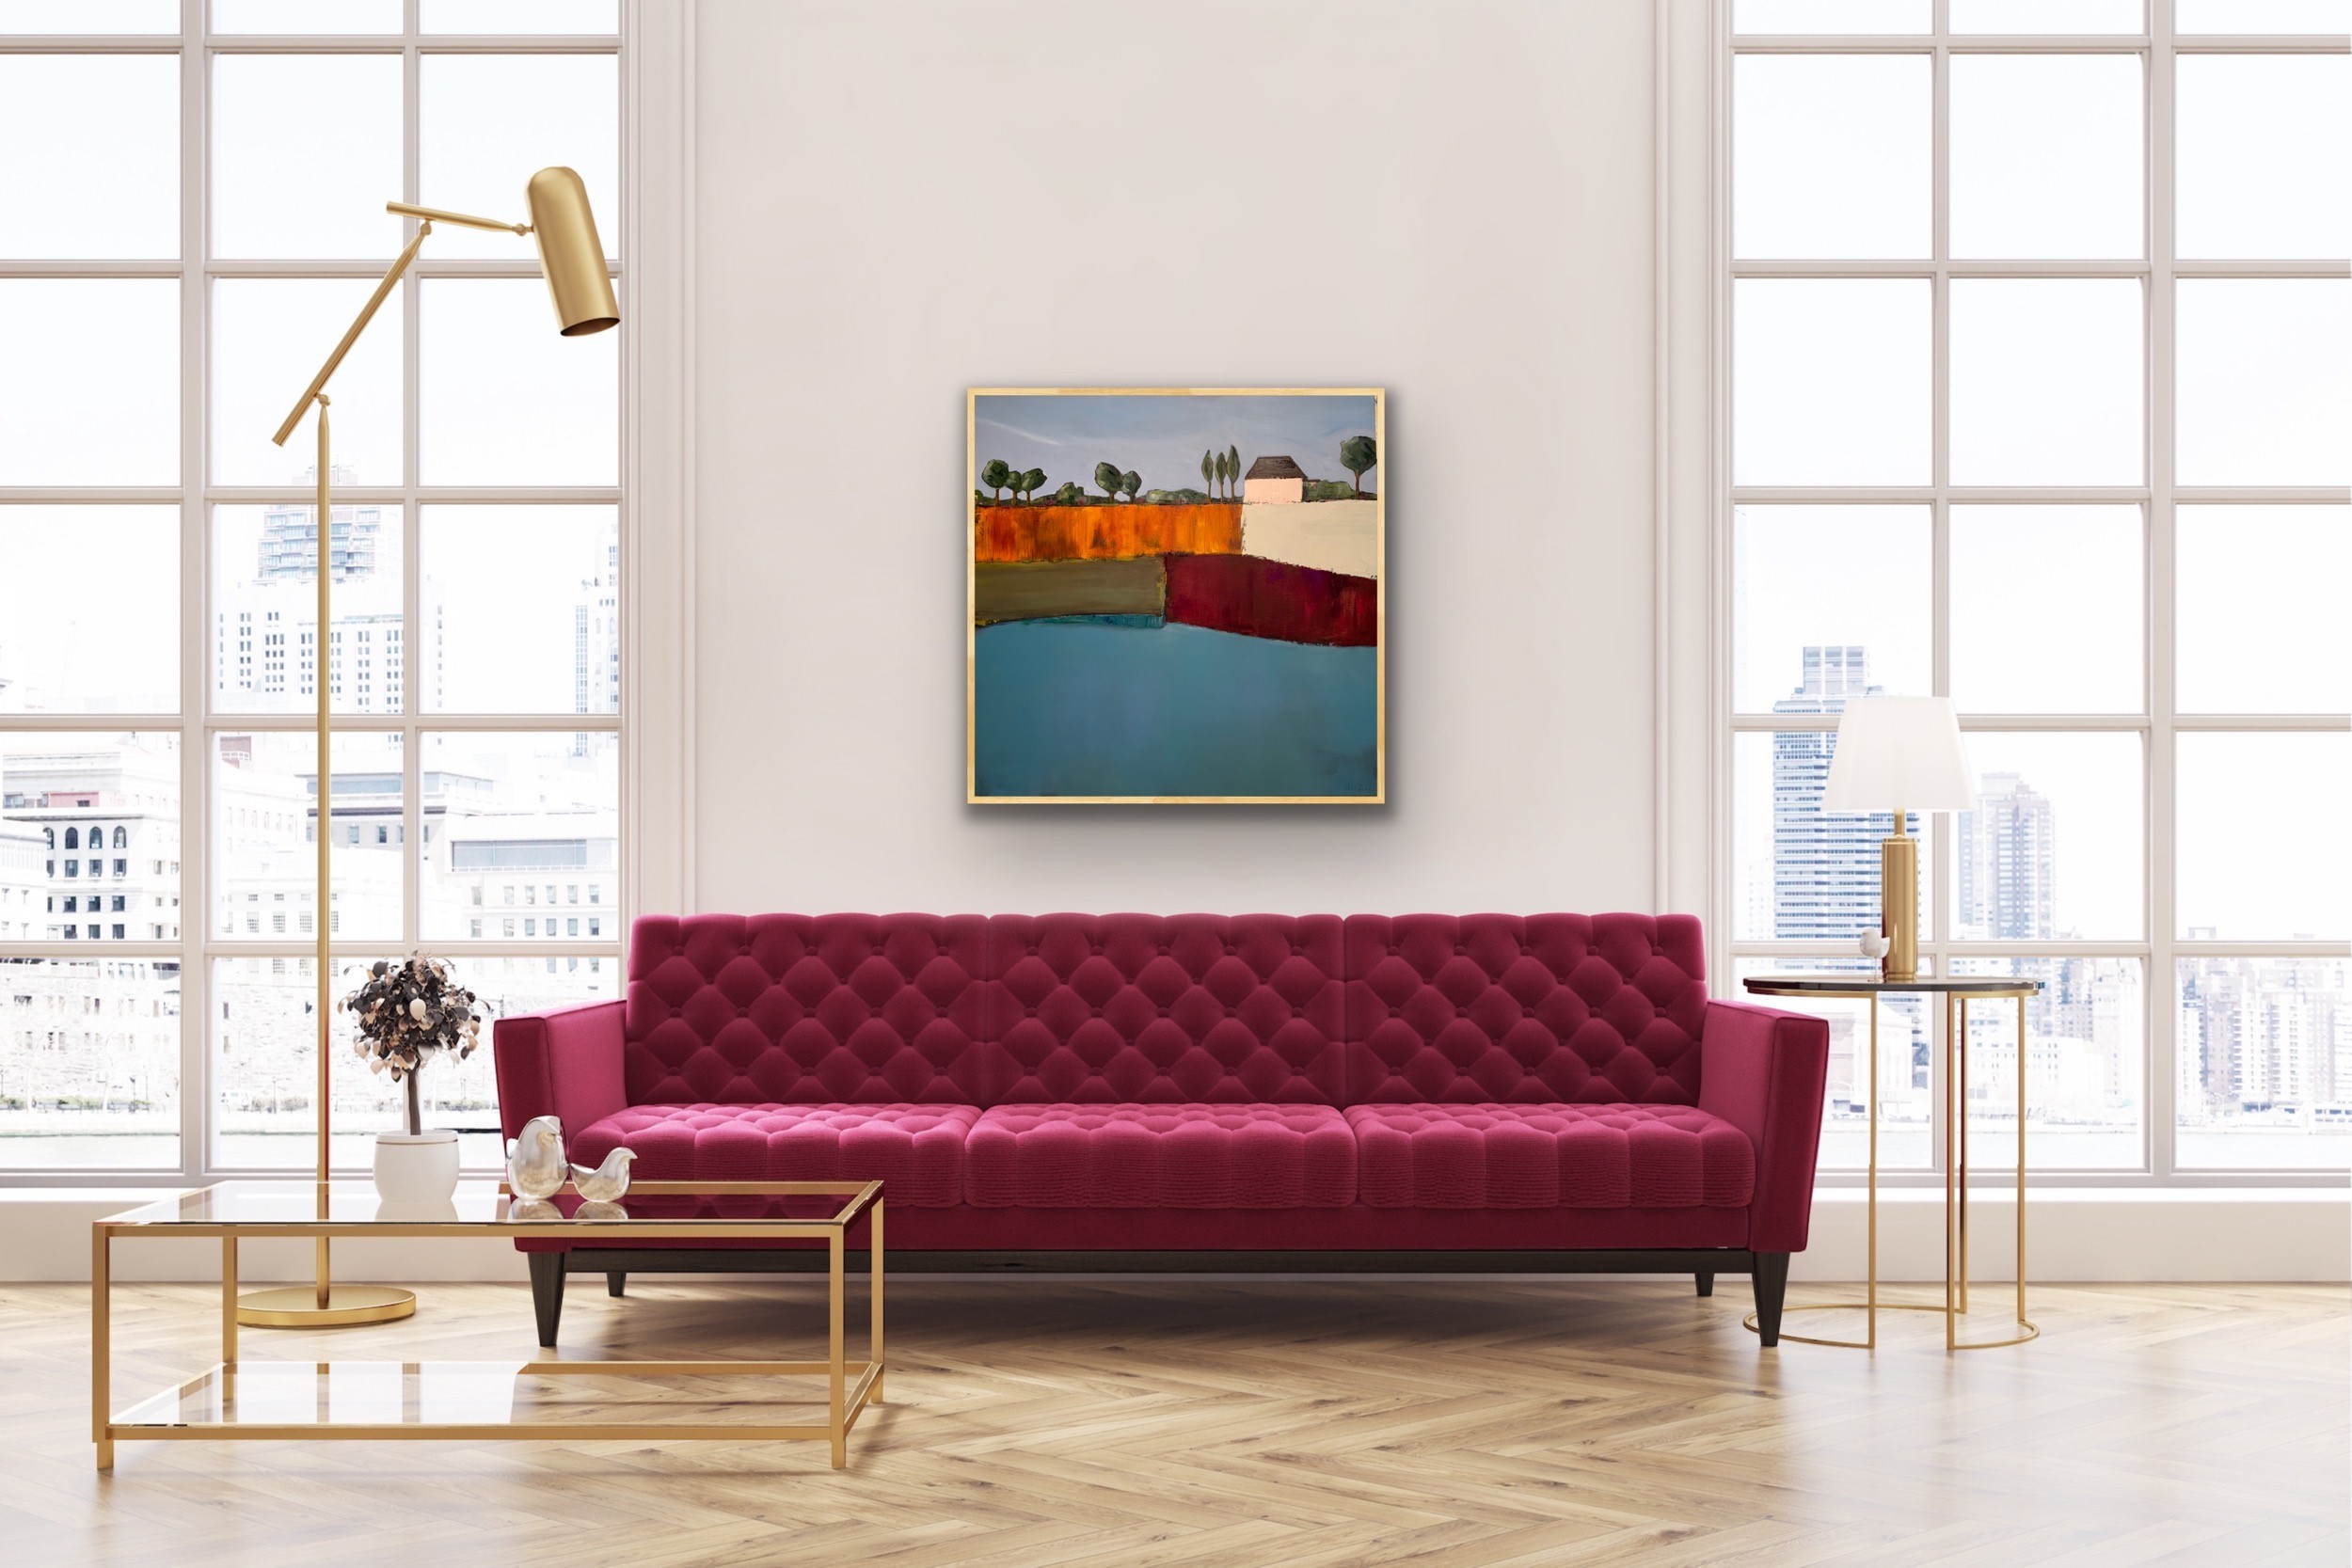
                                              (This is the first Glade Painting – 12×12 “In the Glade”)

The Glade Collection focuses on simple, rural dwellings that remind me of a peaceful past and the stories and secrets older historical places keep. These paintings are conceived in a place of contemplative harmony. That’s why I was so eager to get into the studio and revisit the series!
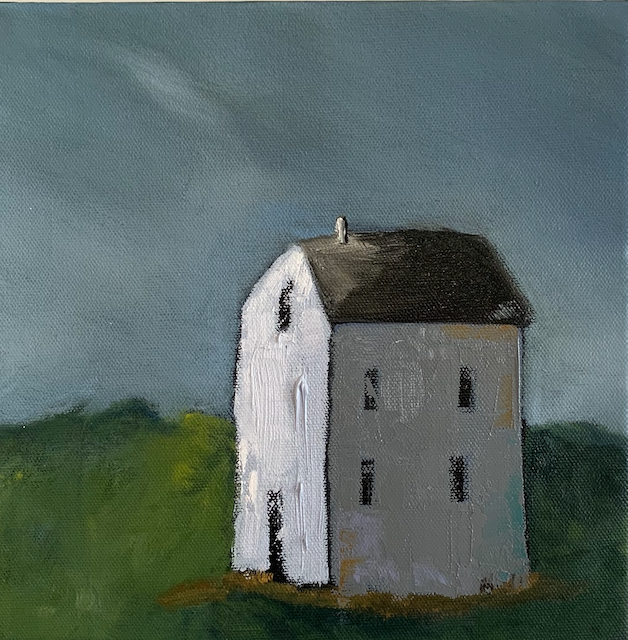
                     (This, as of yet, untitled piece will be heading to the Crocker Art Action – BNSA)

Maybe you didn’t know I also work with my clients to create art that is specific to their needs. Commissions are a great way to get the size and palette you need for a special place in your home or office. .
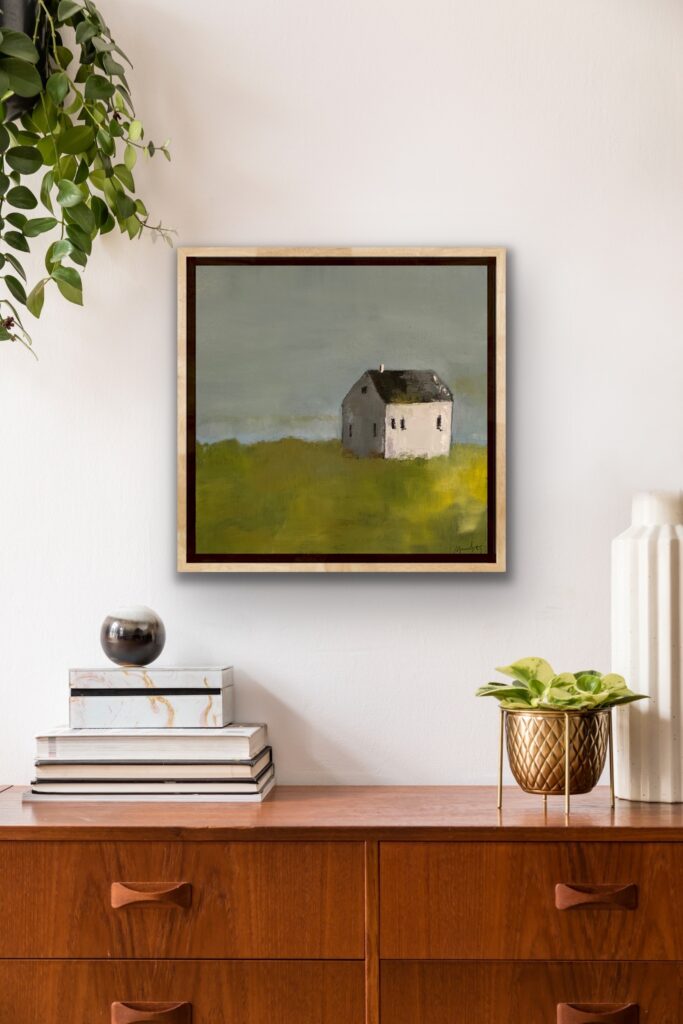
To see more “fresh art” as I create it, follow me on Instagram and sign up for my monthly updates.  As always – if something resonates with you, send me a note. I’m also available for studio tours by appointment and every 2nd Saturday at ARTHOUSE, 1021 R. St. Sacramento, when many resident artists open their studios to the public. It’s a fun event. Come by and check us out! 

Keep Making Life Beautiful!


Michelle Andres is a California-based painter, poet and writer. You can find her work at ARTHOUSE 1021 R. St. in Sacramento’s historical R. Street Corridor. She’s in Studio #1. Learn more and get updates by following on Instagram or subscribing through her website. 


How to Create a Gallery Wall in Your Home

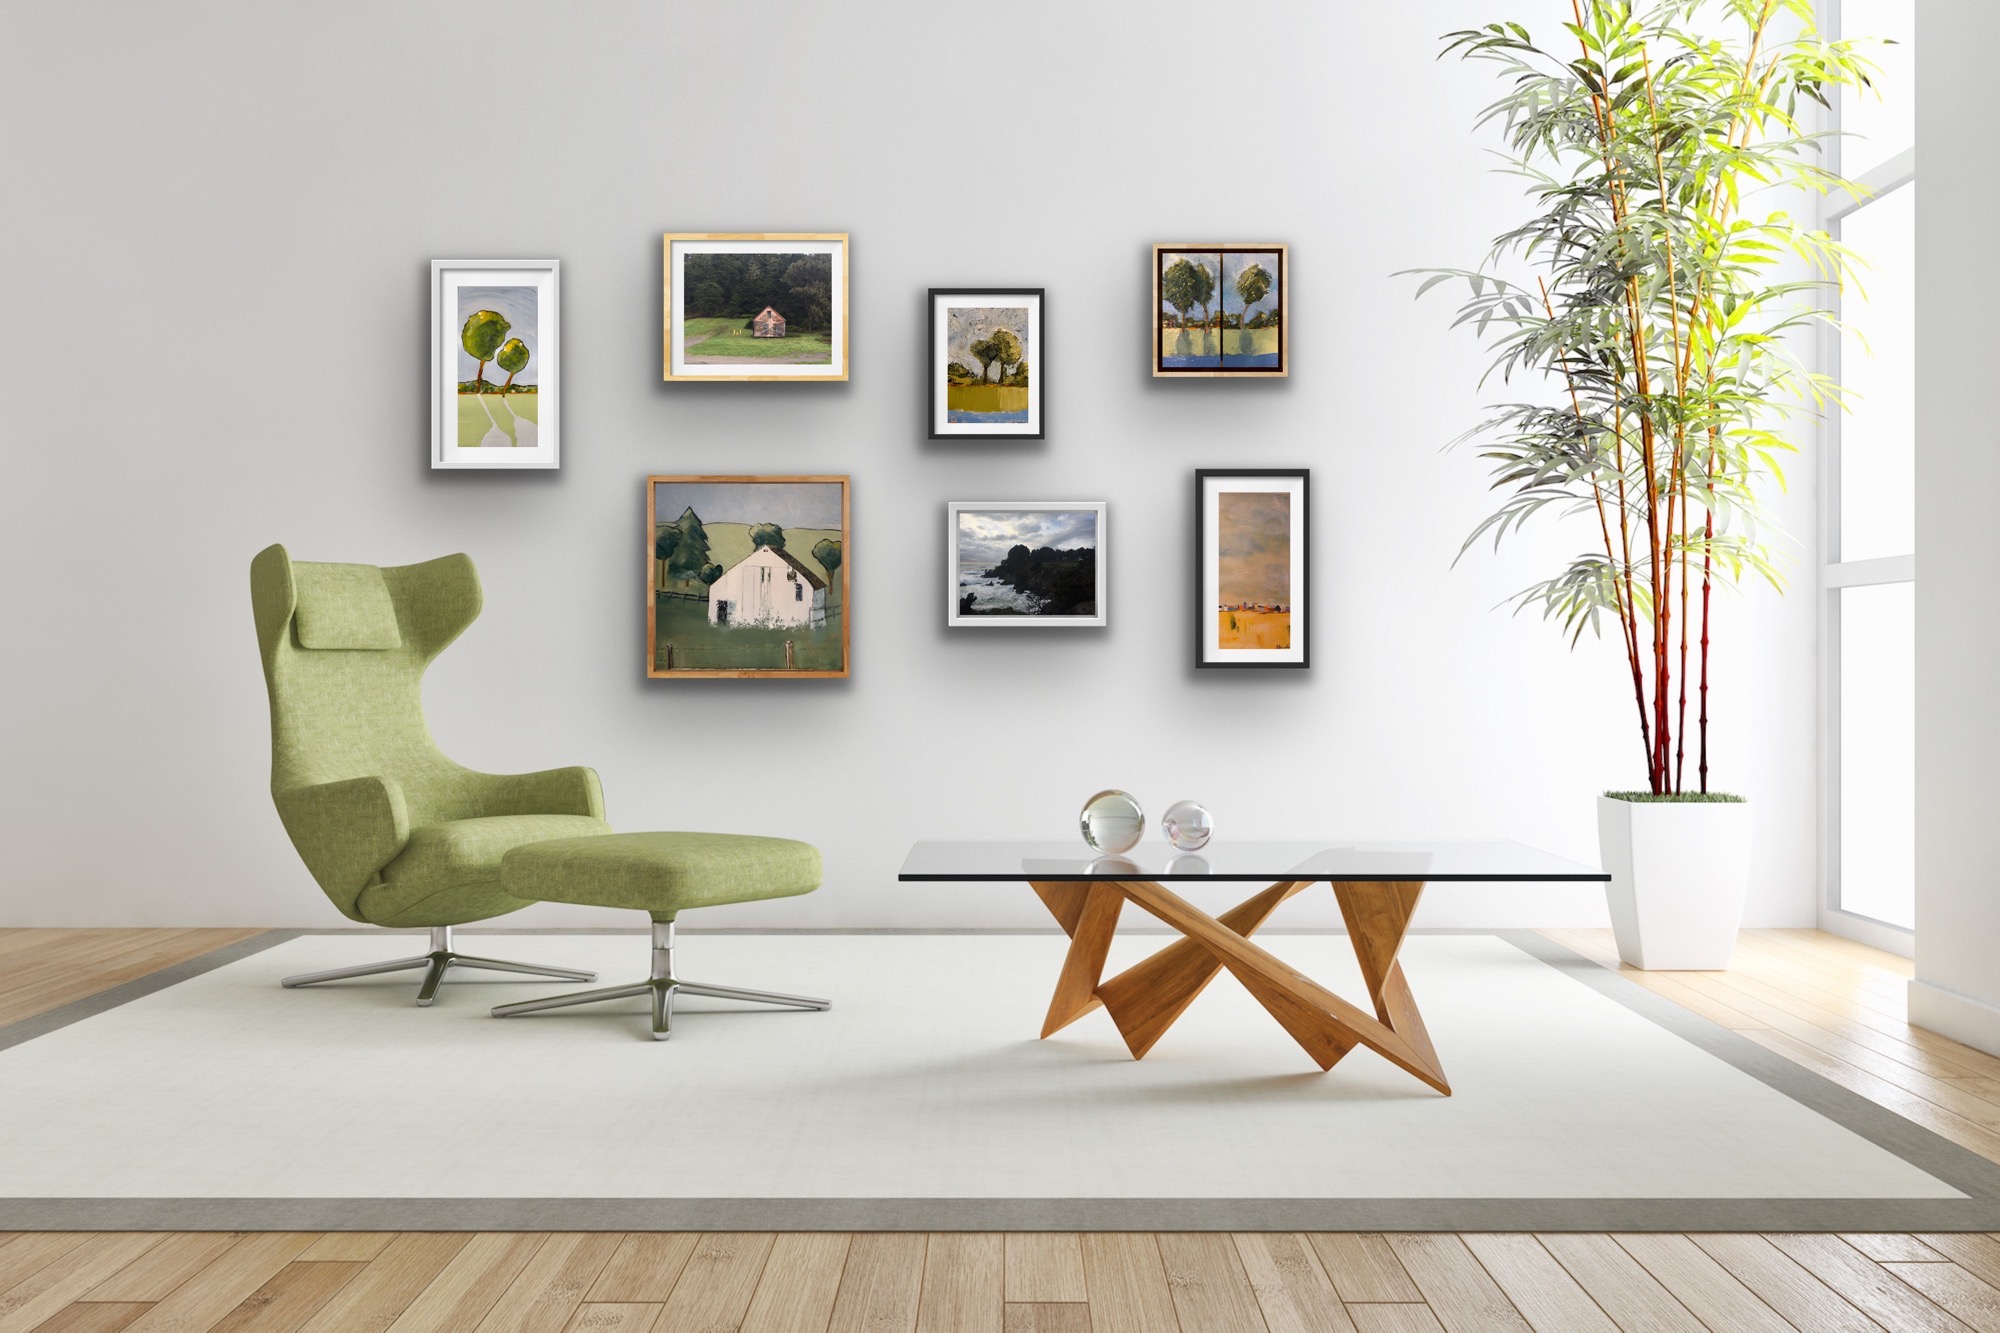
If you’re like me, you love art and can’t help but collect pieces of it that have special meaning or make your heart do a happy dance! When you find yourself swimming in lots of little pretties, you might consider creating a gallery wall for display.

Gallery walls, also called salon style hanging, can be varied, interesting and allow you to display a lot of art. Feel free to mix styles and mediums for salon style walls. You can have photos, original art, landscapes, graphic work and mix it all! You can mix 2D and 3D art and even go all the way to the ceiling.

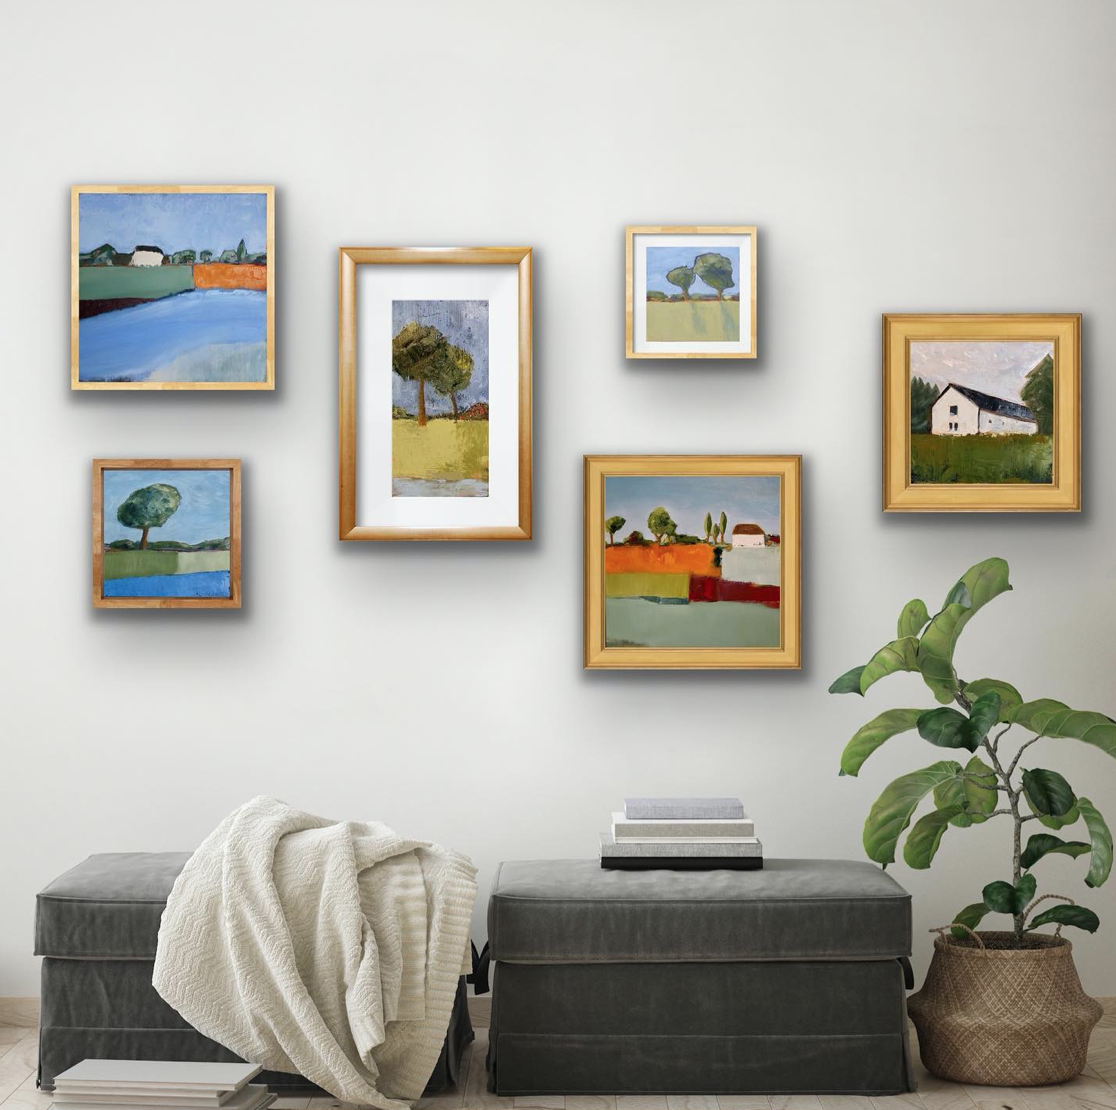
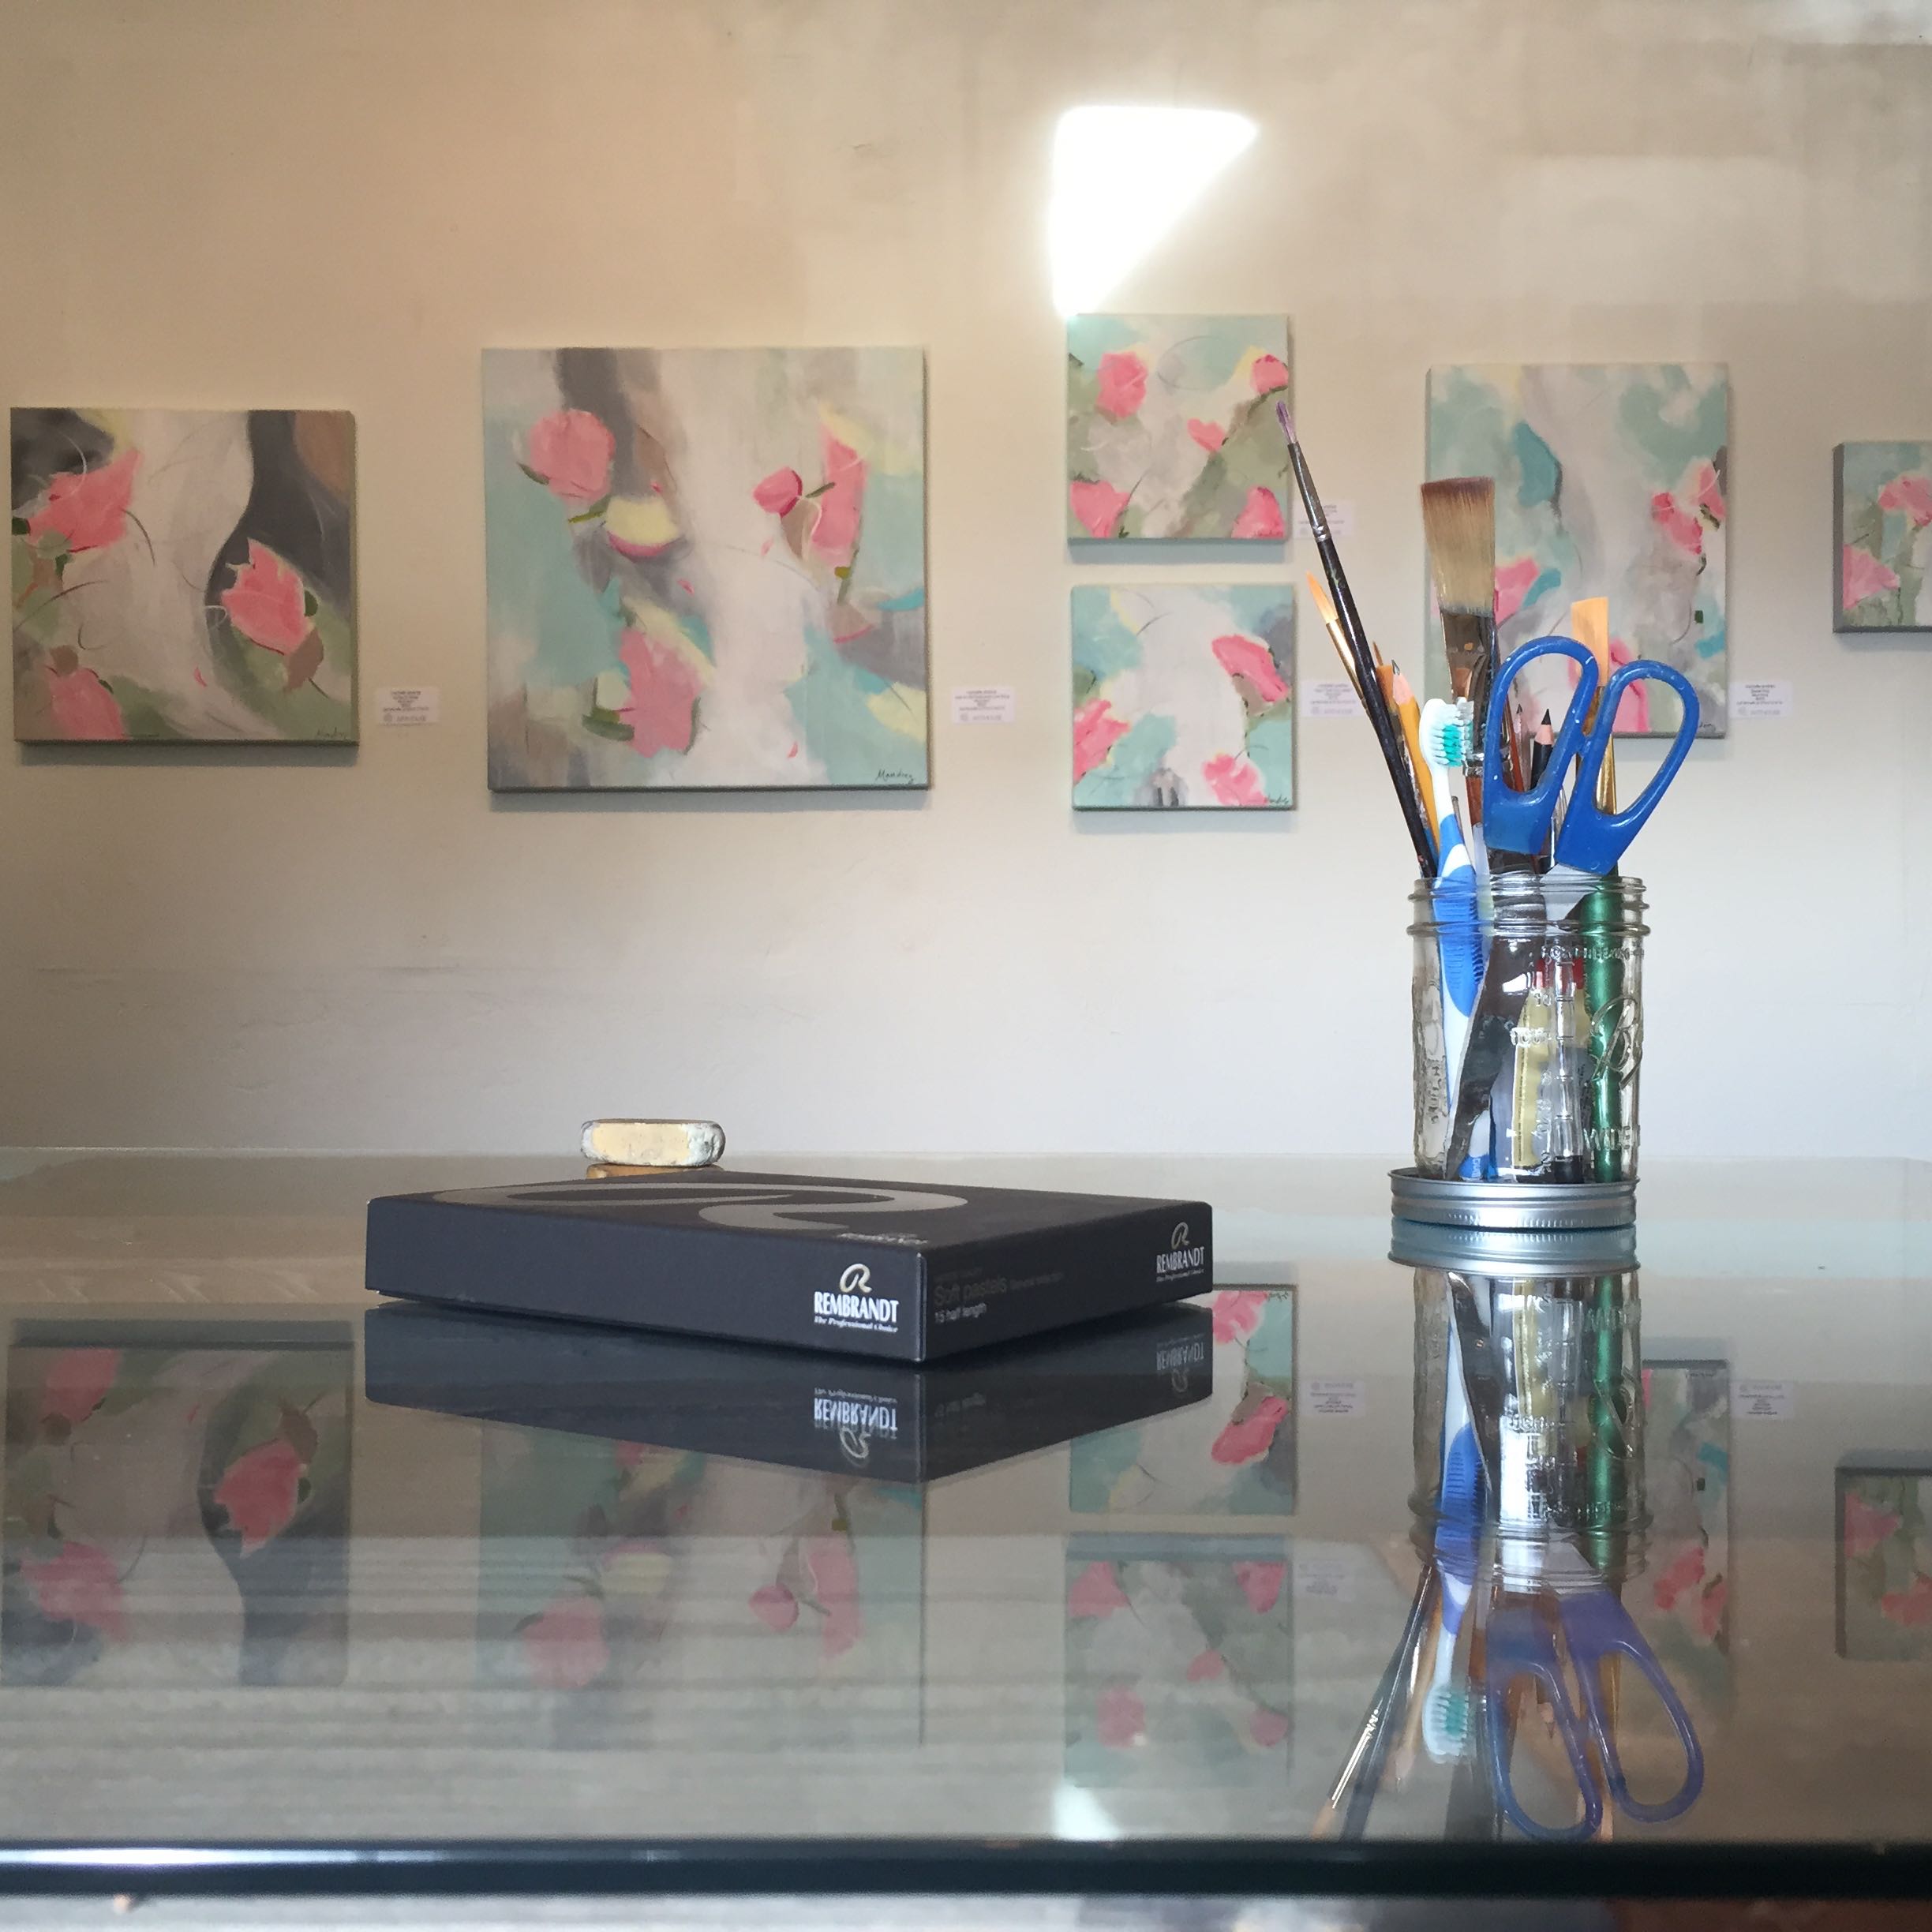
The main guideline for salon style walls is scale, balance and composition. I like to make sure no two paintings hang with their edges exactly aligned and the spacing between pieces is somewhat consistent. That’s my style. Also, mix up sizes and shapes. See the wall at the top of the page? You have LOTS of options.

I suggest you lay your selections out on the floor in front of the wall and play with them before hanging. Don’t break a sweat, it’s only a nail hole, so anything can be undone. Have fun with it. Feel free to show me your photos – tag me on instagram so I can have a look – @michelleandresart – Now, there are no excuses for not picking up “just one more piece of art!”

Trust Your Magic

I’ve begun a new series of paintings. These are a departure for me in that I’m calling on fun to be my muse and taking a break from the seriousness of the world. For a while, the world was feeling extraordinarily heavy to me. It seemed I couldn’t trust so many things I read or heard. I realized, if I continued on the path, no good could come from it.  So, after a refreshing break in Bend, Oregon, I realized there was something I could trust. MYSELF! And, that meant I should trust my magic, too. Bend was peaceful, gorgeous and offered an opportunity to shift my outlook and, in some ways, my art!

www.michelleandres.com

www.michelleandres.com

www.michelleandres.com
                          Some “starts” from Bend
www.michelleandres.com
       Trying on New Ideas (pardon my photography)

I’ve reclaimed some canvases to produce the new work. The series is titled, “New Again.” The canvases are new again, my outlook is new again, and I hope you’ll find the work fresh and fun. I’m still utilizing words, and also including some “rather figurative” elements. Sometimes, I like to keep things to myself.  For instance, when I met my husband, it was such a magical thrill, I didn’t tell anyone about him. Sort of the same with “New Again.” But, for you…here’s a peek….

I’m sorry to be such a tease, truly (well mostly), I am. I’ll be showing some of this work in my R. Street studio, Saturday, October 14 from 6:00 – 9:00. Come have a look and spend some time perusing the art. Trusting magic takes a leap of faith. I hope you feel the magic, too. 

Make Your Own Magic!

Check out my new book “ART – And Other Elements for A Well Lived Life” here. 

Find the R. Street Studio at ARTHOUSE – 1021 R. Street, Studio #1, Sacramento, CA

Follow my work on Instagram, Facebook and Pinterest


DIY Studio Table for Under $200

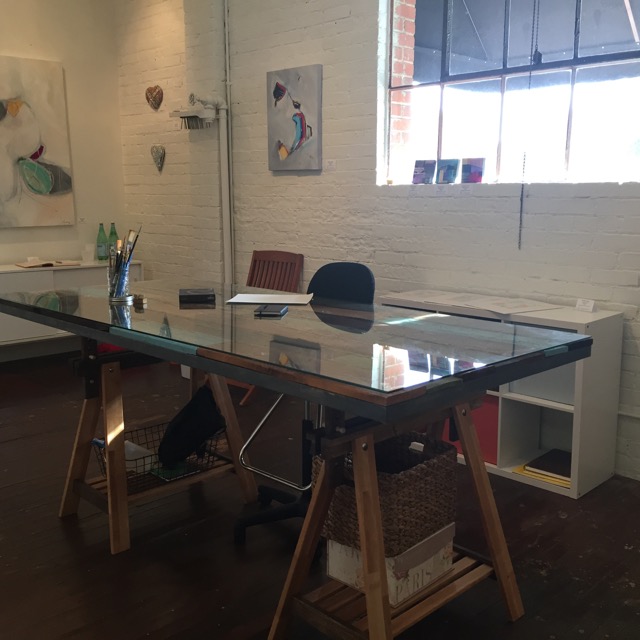
I recently moved into a new studio space, so I needed a good work table. My home studio has a table, but I wanted the new space to sport a “pretty” one, because pretty is important, you know? Following is the step by step process to turn a couple saw horses, a door and some repurposed pallets into an awesome studio table.

Empty

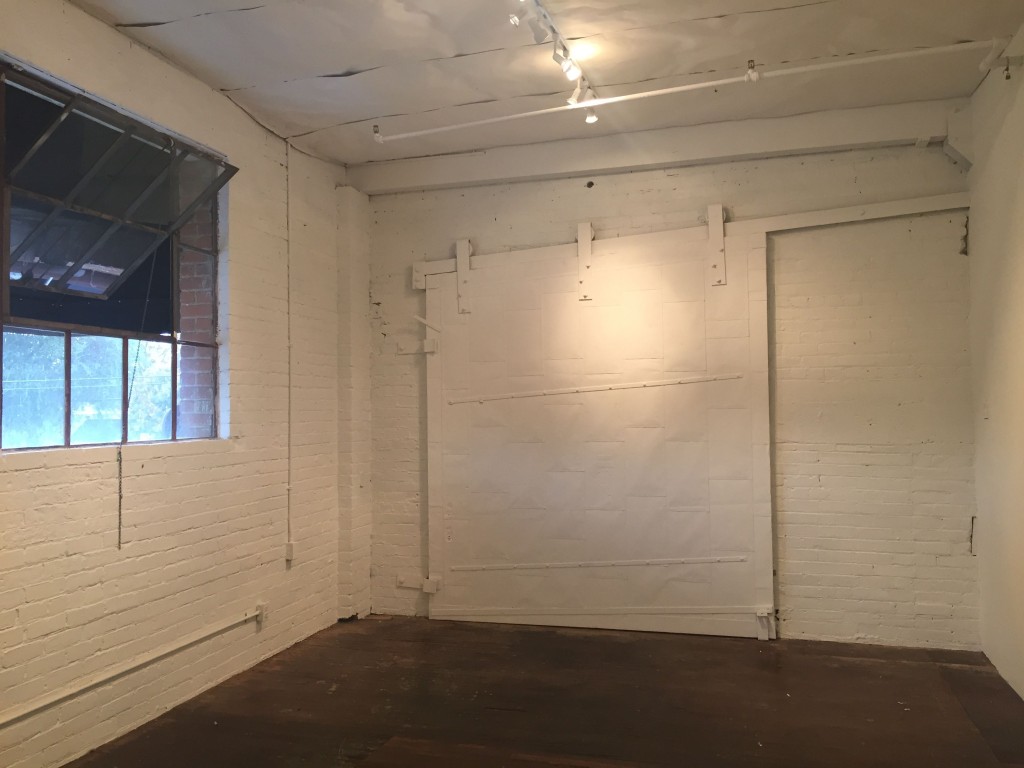
Here is a shot of the new space, Studio #1.

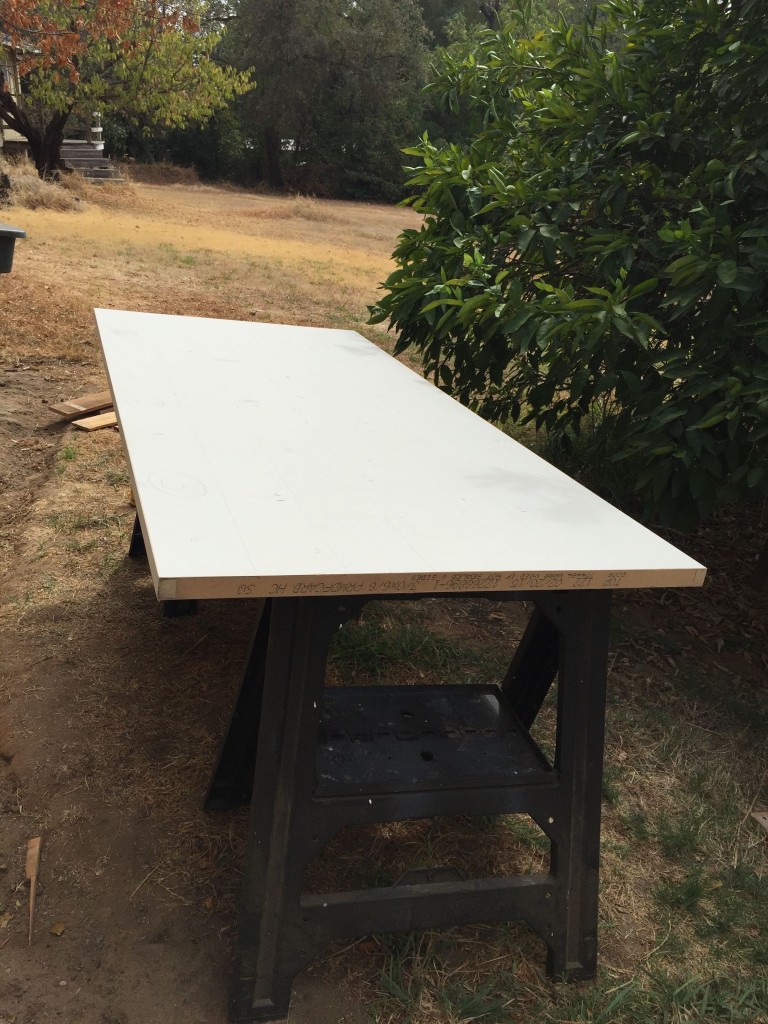
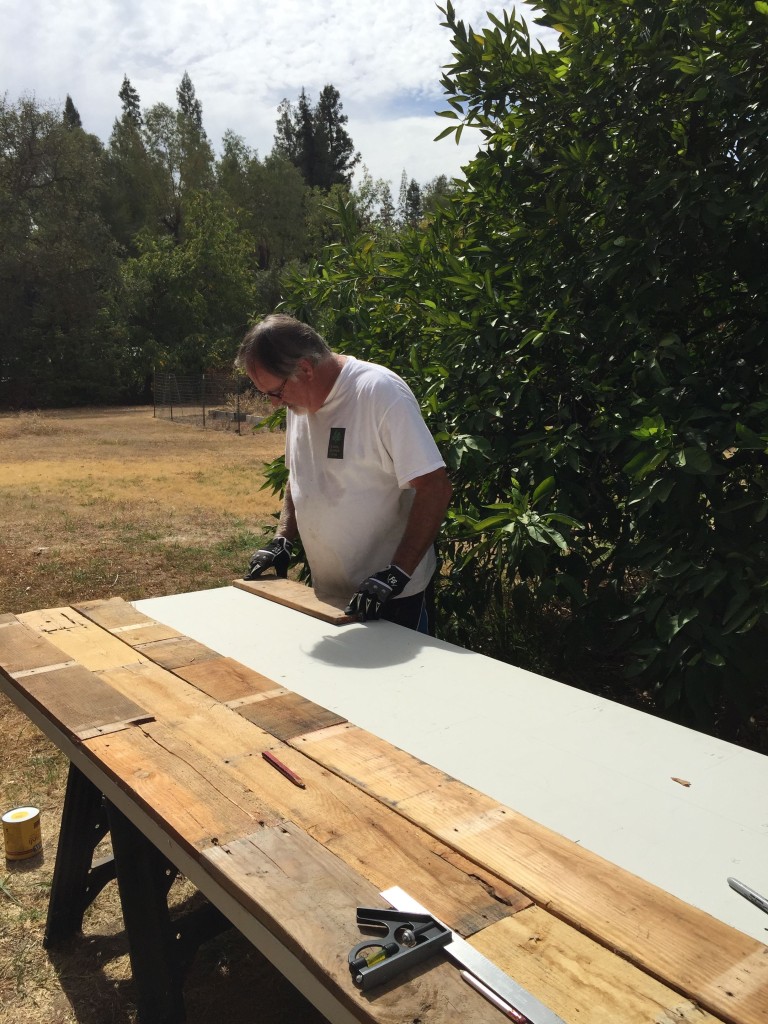
First, I purchased a door for $30. (You can see the drought in California is real).I decided to use some old pallets to dress up my work table. Then, I created the layout on top of the flat space. The length and colour I wanted the “planks” to be. You can’t really see the pattern of the layout in this photo – but it was penciled in.

Cutting the pieces

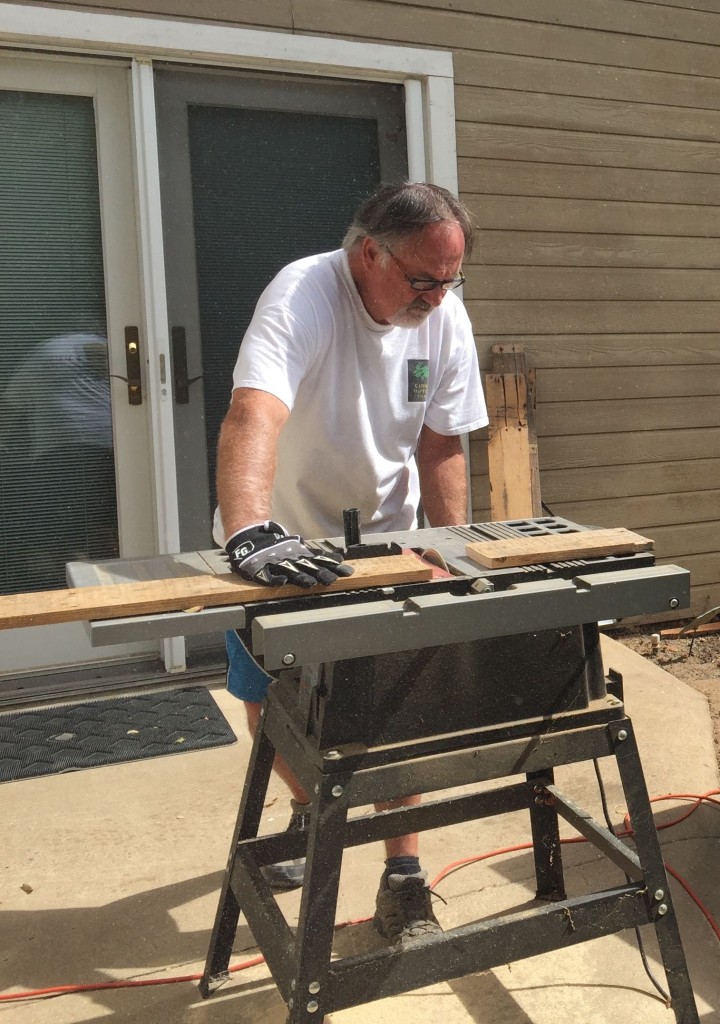
I enlisted my husband to cut the planks to size. In this tutorial it looks like he did all the work. 😉

Lay out the pattern

And then we made sure they fit into the pattern on the table.

Stain the door

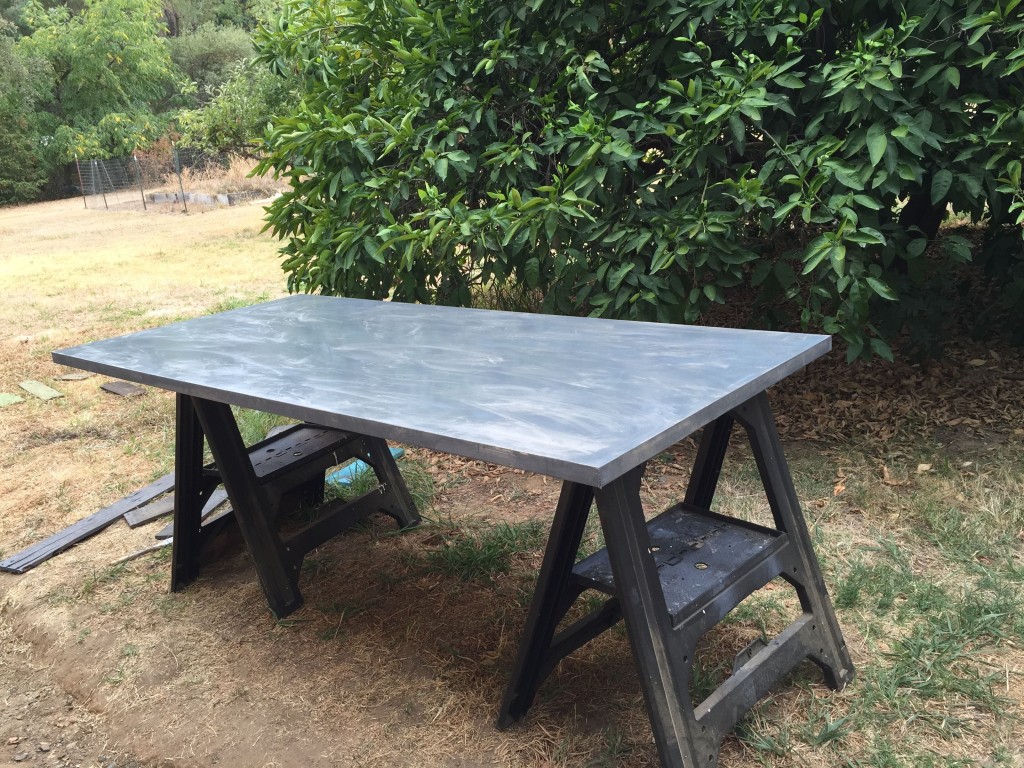
I stained the table because I knew the joints would have gaps. I chose a colour that would complement the stains for the planks. The stain is light and the marked pattern shows through.

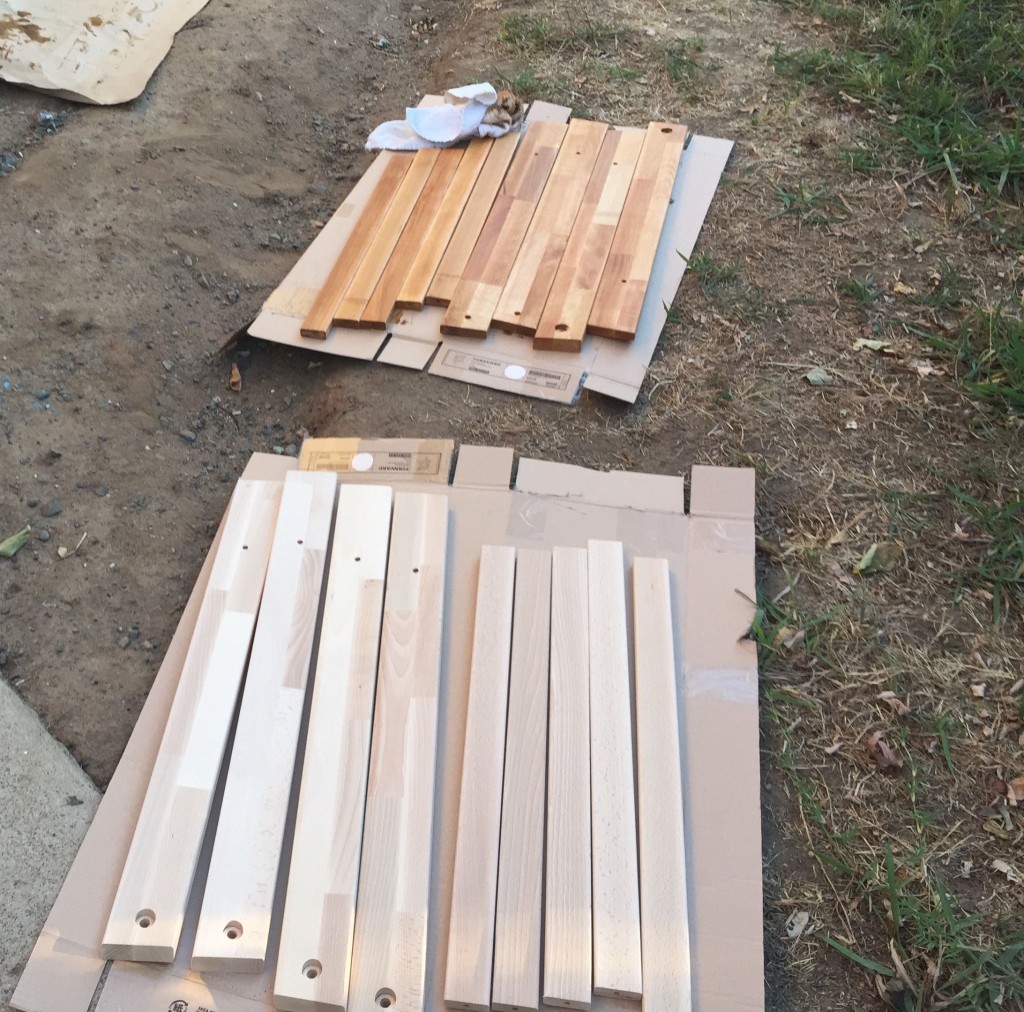
Stain the planks of wood

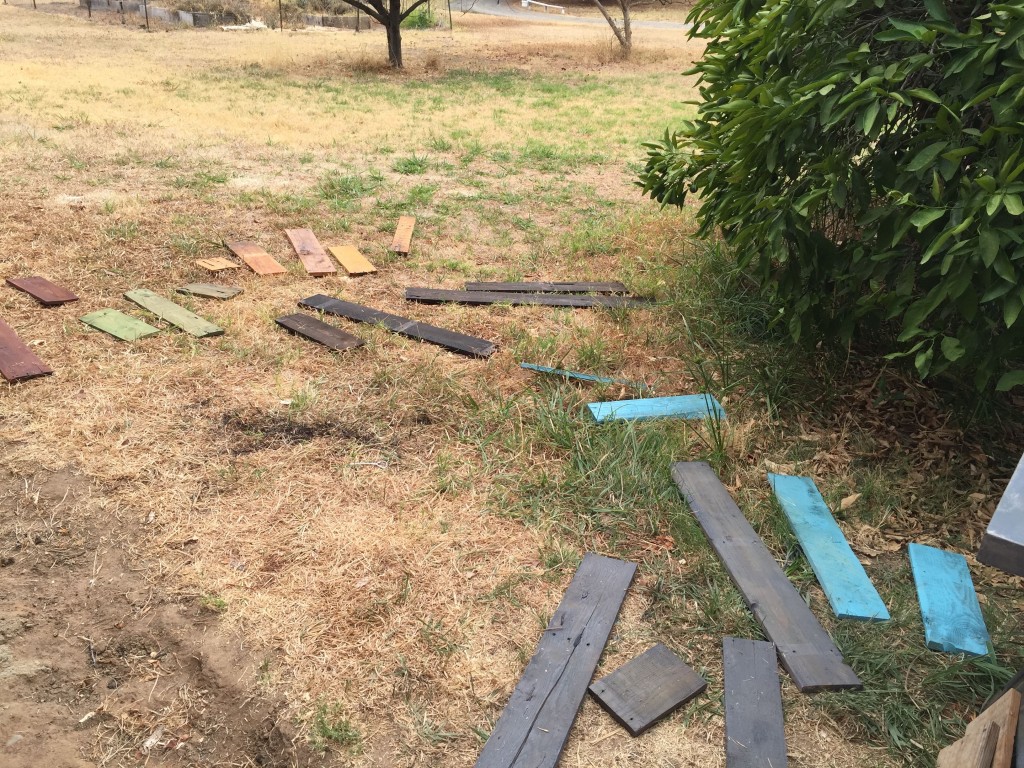
Each piece was marked so I knew where it would fit into the pattern on the table. Then, I stained the planks different colours.

The Final Lay Out

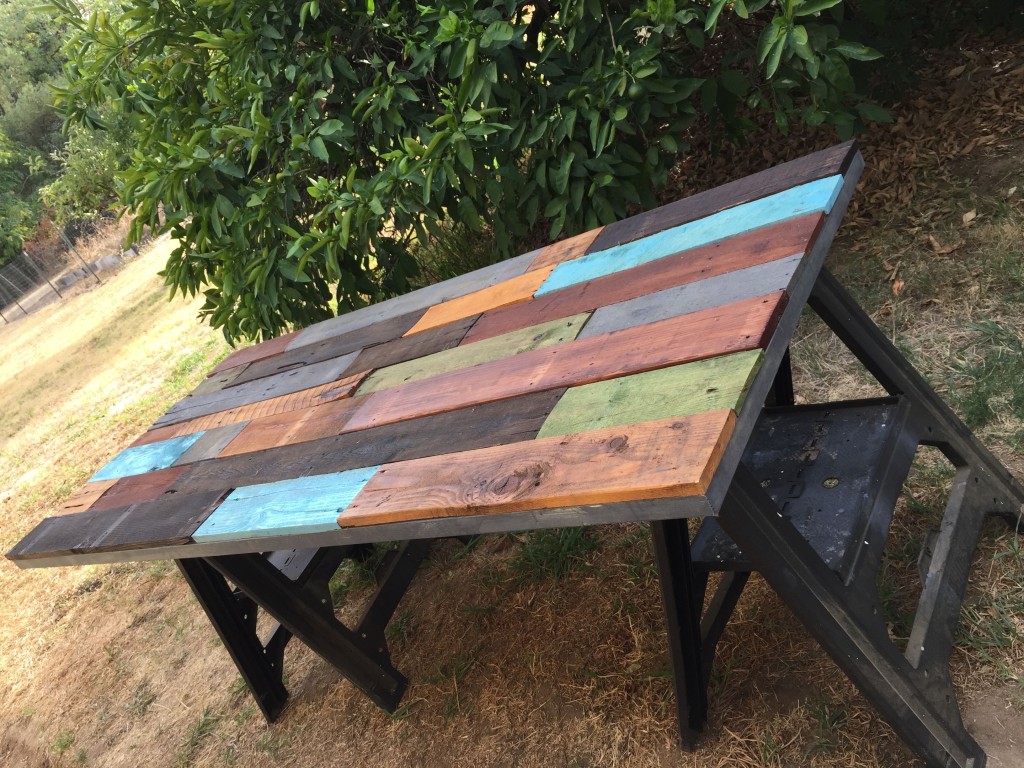
Finally, they were affixed to the door with wood glue (and some other mosaic glue), but wood glue will work.

Get the base

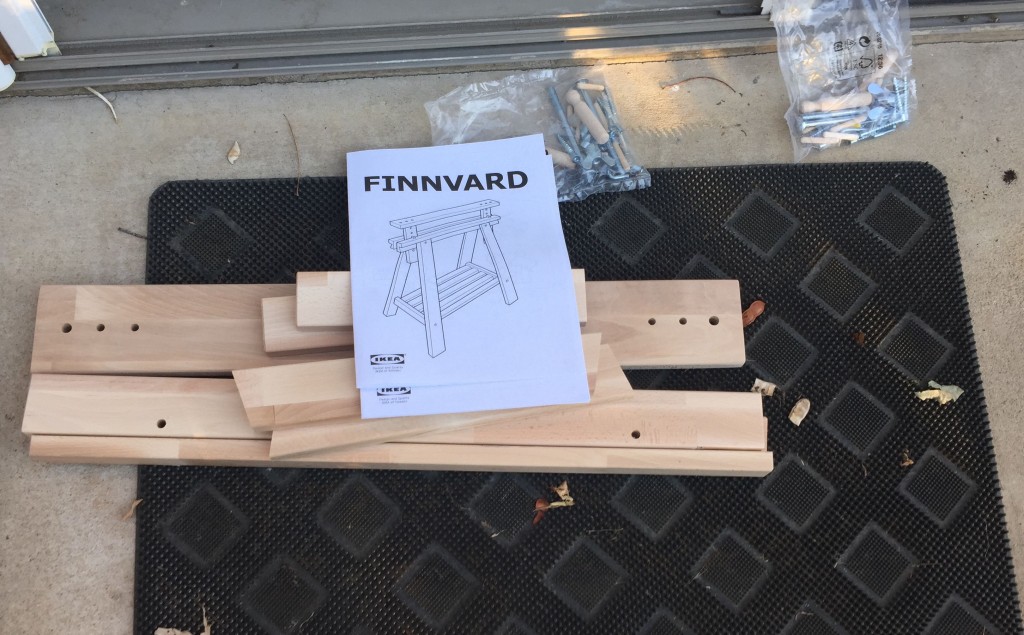
Next, I got two adjustable work bases from Ikea. Each base was $40. I took the bases from the boxes, but kept them with their original package so they’d fit together nicely.

Stain the bases

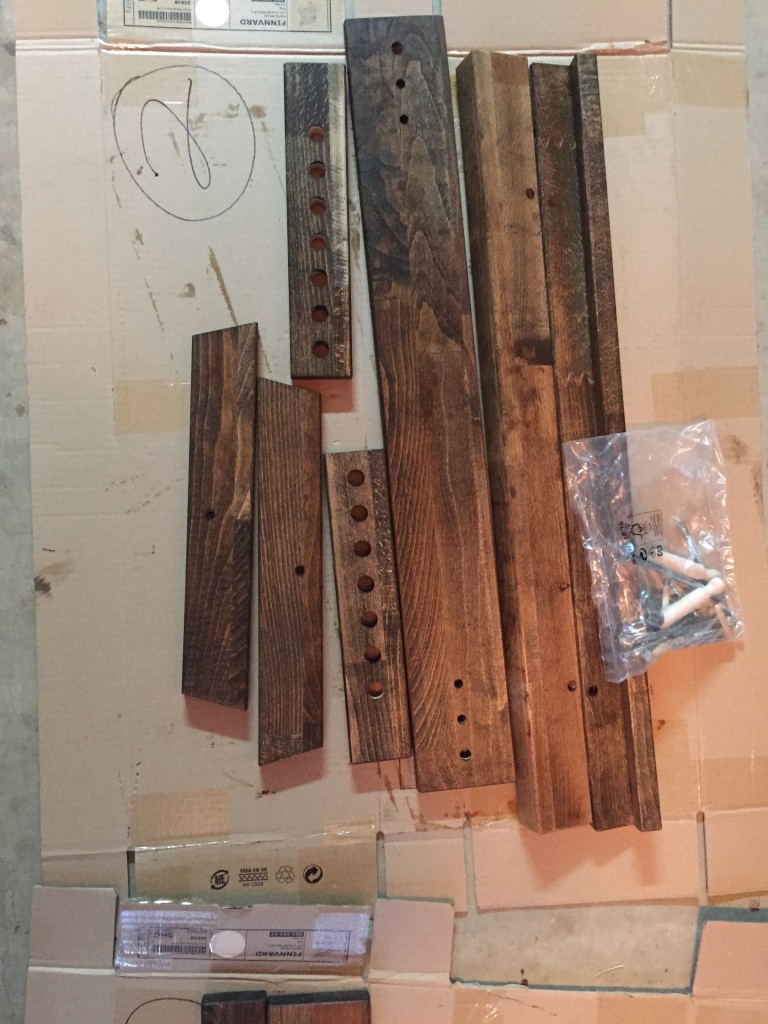
I stained the pieces of wood different colours.

Stain Base pieces and keep them in order

Remember to keep them with their original neighbors and hardware. Then, Husband assembled them.

IMG_7666

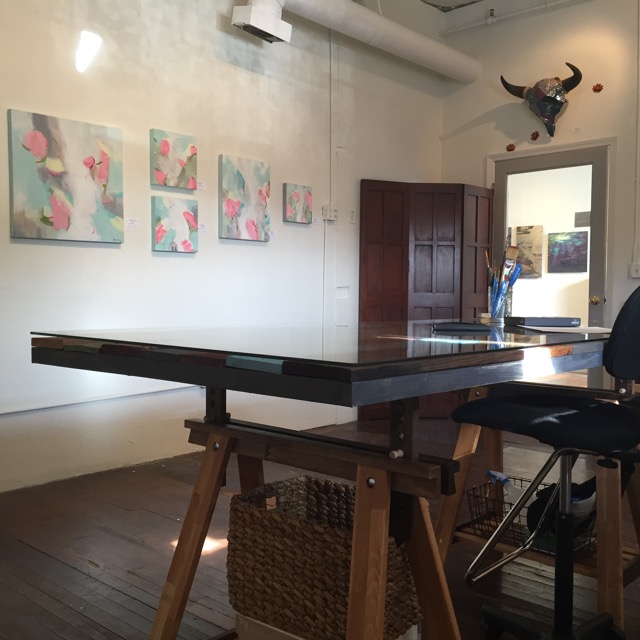
Finally, I had a glass top made to keep the work surface smooth. The price of the glass can vary, so shop around. Because there were differences in the height of the planks, I needed spacers. If I were to do this again, I’d make sure depth of the wood from the pallets was the all the same.

IMG_7665

I’ve been enjoying this table. It can be covered with paper while painting. The adjustable height bases are perfect for customizing a comfortable working height and when it’s time to entertain and display work in the studio – it’s pretty!

I hope you’ve enjoyed my tutorial. Feel free to share with friends!

Fearlessly Make Stuff!

11782161_10207494863919739_64633069007983764_o


Living with the Muse

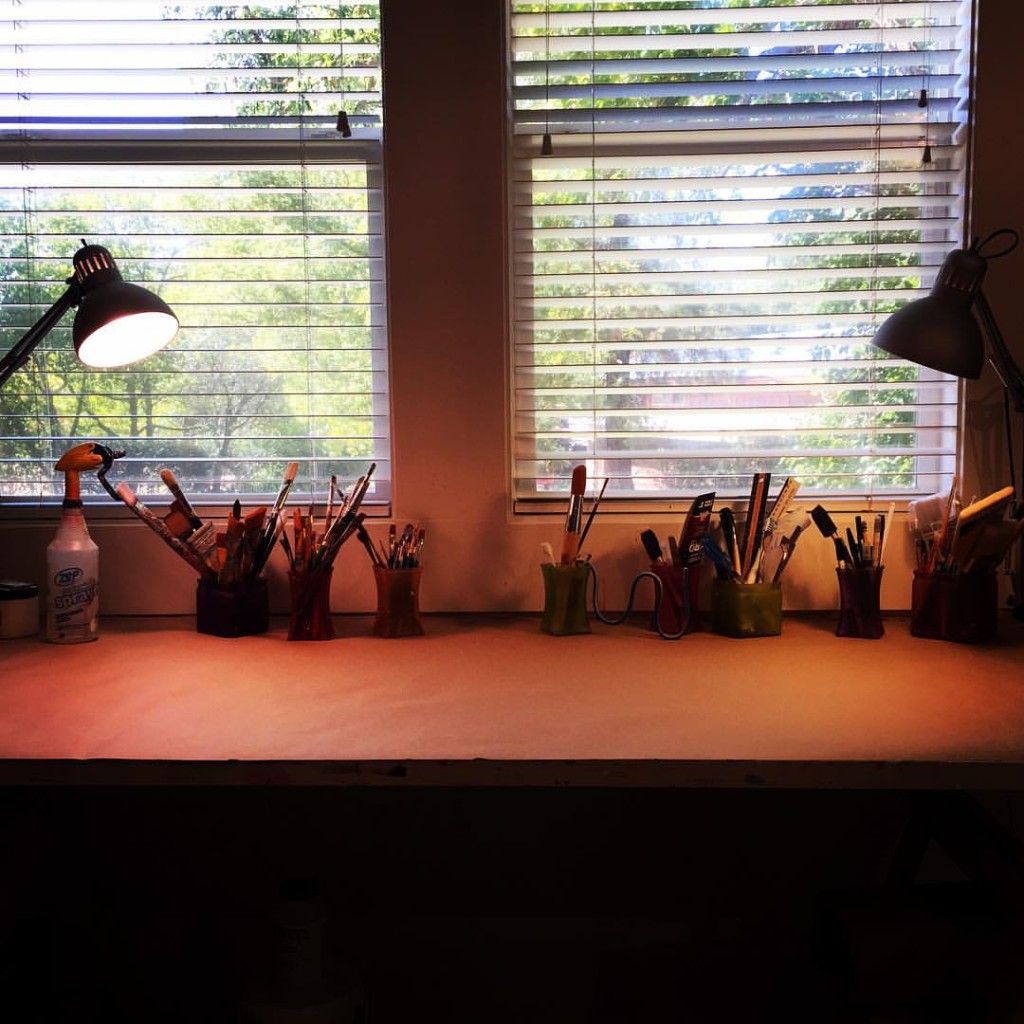
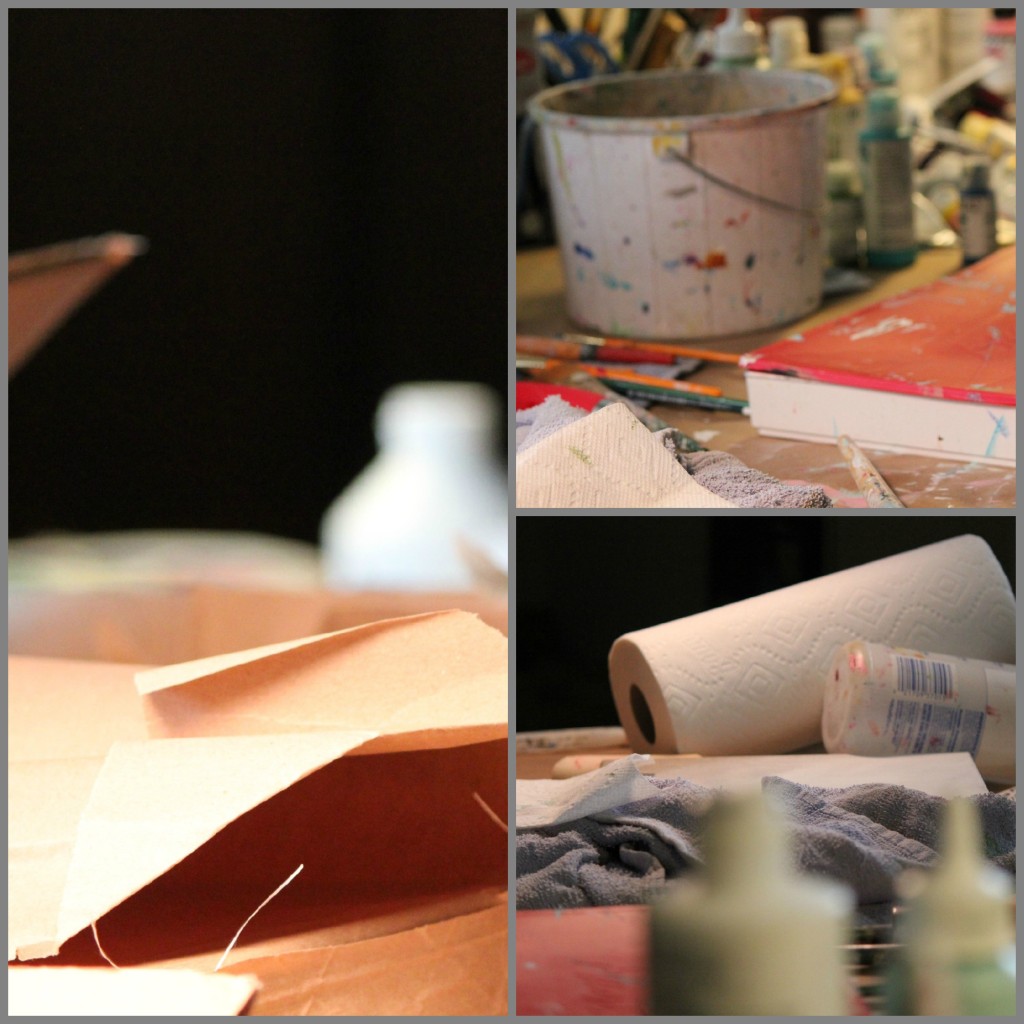
Living with the Muse makes for an interesting life. I’m grateful mine is never far away. I’m grateful she forgives me for my occasional awkwardness, thoughtlessness, overlooking the obvious and the rare creative slump. To show my appreciation for her undying support, I clean the studio when we embark upon a new idea together. Recently, my studio table looked like this….

Working Art Studio Inviting the MuseThis clears my mind and makes my Muse happy. I’m pretty sure she wouldn’t want to hang with me in a chaotic space. In a clear space, I can hear her voice and I create some room to get to work.

Then, we begin to dance. And, of course, I step on her feet and the record skips and we slip on the water on the floor a bit….

Dancing with the Muse

But, it’s all good, because we’re dancing – you know?

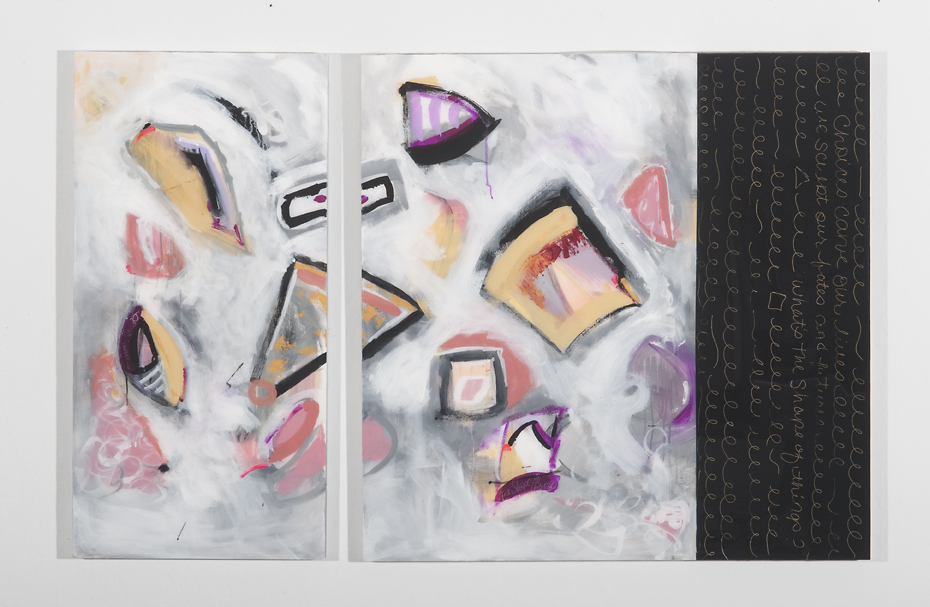
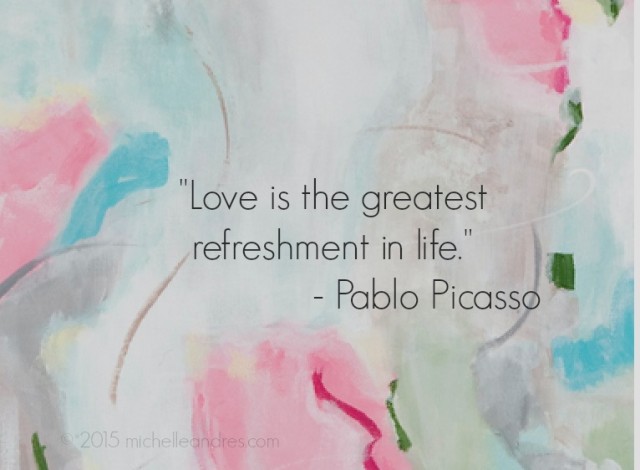
So, I’ve been in the studio dancing and painting and thinking and creating. Soon, I’ll have something new to show you. The series is titled “Love Songs” and they began as studies on paper which are aptly called “Love Notes.” Here’s a peek at part of one of them – with a quote from one of my favourite painters, Pablo Picasso…

Love Song Pablo PicassoSo, look for some “Love Songs” debuting in November. They’ll be accompanied by “Love Notes,” of course! And remember, dancing can be messy, but it’s always beautiful, and freeing and best done to a nice Love Song!

Dance with Abandon!

11782161_10207494863919739_64633069007983764_o